Hi everyone! Did you see the new collage sheet which was released by Vera Lane Studio last week? It's called Quirky Cats and comes with two collage sheets of wonderfully coloured cats and a few bird friends. They are quick to cut out and come in various colour combinations and sizes. I am smitten! I decided to make a trio of artist trading cards featuring a few of the images.

The first one combines one of the smallest cats and his bird friend who I placed on top of his head. The background is an ATC (2.5x3.5) card which I used to mop up overspray from a Lindy's session. Stamping and doodled stencilling plus a piece of washi to ground them added to the design.

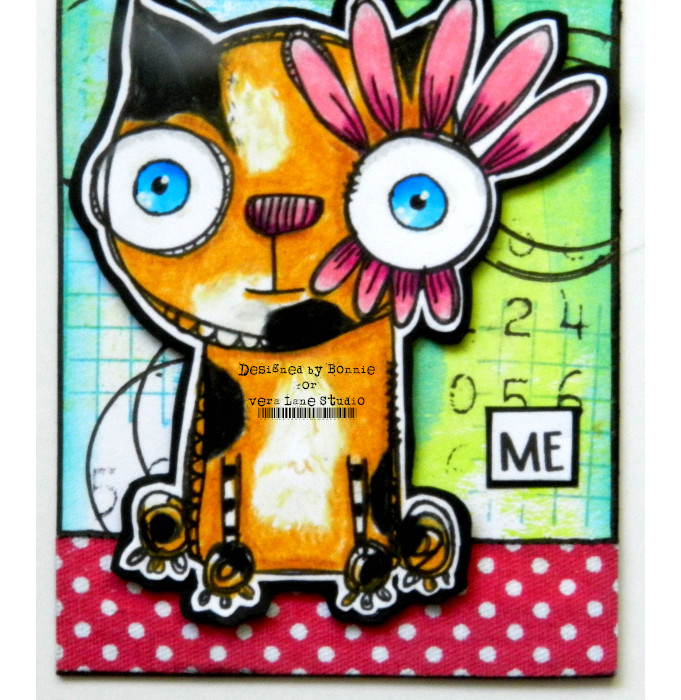
The second ATC started as a remnant from a gel printing session using acrylic paint topped with a stencil. Doodling was added to the circles and a little stamping was scattered across the card. Washi tape grounded one of the medium cats and his birdie friend.

The third ATC features one of the largest cat images. The background started as another inky mop-up card. Stamping and doodled stencilling added patter and washi tape grounded the Quirky cat. Like all of the others, Black Big Brush Pen edging, a doodled border, and a puffy heart sticker were added to finish the design. The sayings,like the images, were popped up on foam tape to add dimension.
Once again, thanks for joining the Quirky Cats and me today.To check out the other fabulous collage sheets and images by Janet Klein, be sure to stop by the Vera Lane Studio Etsy shop. While you are virtually out and about, pop by the Vera Lane Studio Facebook group where there is daily inspiration and awesome peeps!
Life is good; so is art.
Bonnie